From City Grit to Gleaming Timber: Your NYC Guide to Hardwood Floor Installation
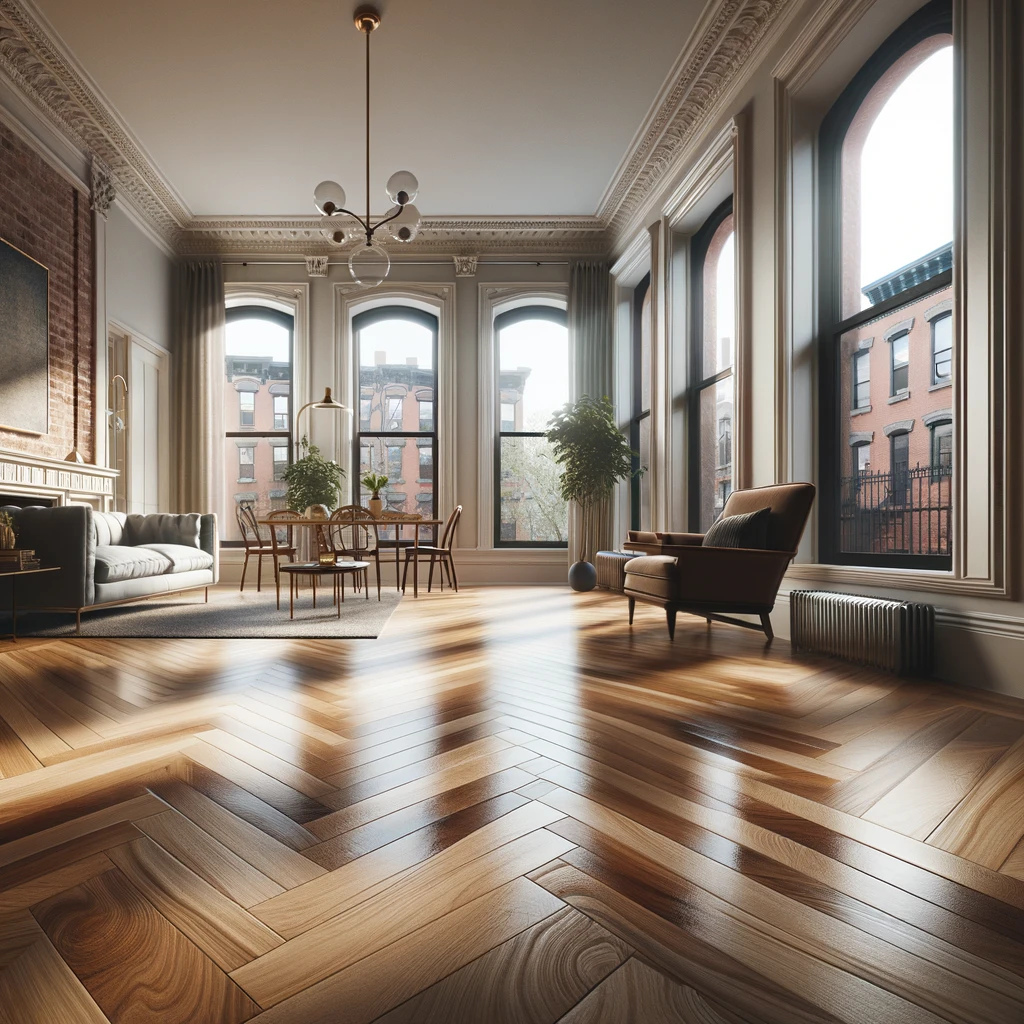
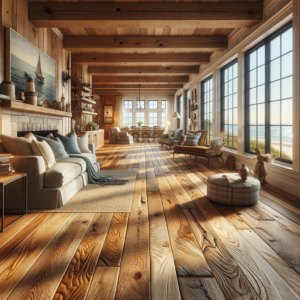
Brooklyn brownstones, Long Island beach havens – NYC homes hold countless stories within their walls. But sometimes, those stories are marred by chipped tiles and echoing floors. No more! This guide is your DIY manifesto for reclaiming your space, one rustic plank at a time. We’ll equip you with the tools and knowledge to turn your concrete canvas into a sanctuary of warmth and character, reflecting the vibrant spirit of your New York life.
Before You Hammer Down:
New York City floors face a unique battle against wear-and-tear and the ever-changing weather. Before you raise the hammer, conquer these prep steps for a hardwood installation that sings!
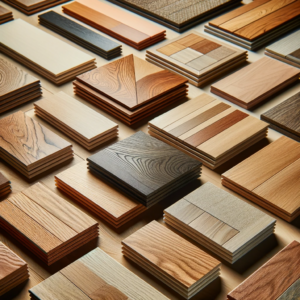
Material Mashup: Don’t just pick the prettiest plank! Consider the NYC tango of traffic, humidity, and your budget. Oak, maple, and bamboo are seasoned warriors, ready to endure the city’s rhythm.
Measure Like a Maestro: Befriend your tape measure and map your entire territory, including those tricky doorways and furniture nooks. Add a 10% buffer for cuts and unexpected waltzes with the saw. Don’t forget to plan your layout to minimize wasted planks – every step counts!
Moisture Minding: New York humidity can be a fickle dance partner for wood. Let your planks acclimate to the room’s temperature and humidity for at least 72 hours before installation. Think of it as a pre-party warm-up, ensuring a smooth performance later.
Subfloor Solidarity: Your subfloor is the silent hero! Make sure it’s level, dry, and structurally sound. Unevenness and moisture are floor-floppers, so address any bumps or dampness before laying the first plank. A solid foundation equals a flawless finale!
Bonus tip: Feeling overwhelmed? NYC offers an army of skilled flooring professionals like Renovation Services.com who can handle the installation waltz, leaving you with a floor that’s the envy of the city.
Before you dive into the sawdust symphony, assemble your warrior’s toolbox like a seasoned Brooklyn builder! Here’s what you’ll need to conquer those planks and craft a floor that sings:
Essential Warriors:
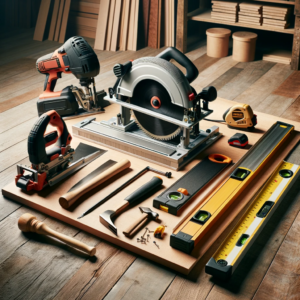
- Circular Saw: Your trusty steed for slicing through planks with precision. Think of it as your Excalibur of woodcutting.
- Jigsaw: The agile acrobat for navigating tricky corners and obstacles. This one dances to its own tune, so practice your moves!
- Hammer & Nail Gun: The rhythm section, driving nails home with steady beats. Choose your weapon based on your preference – hammer for a classic touch, nail gun for speedy efficiency.
- Tape Measure & Level: Your trusted advisors, ensuring every cut and plank lands in perfect harmony. Precision is key, so listen to their wise whispers!
- Chalk Line: Your guiding light, marking the path to a flawless floor layout. Imagine it as your NYC subway map, leading you to plank-by-plank victory.
- Safety First: Don’t forget the essentials! Safety glasses, hearing protection, and a dust mask keep you safe from the sawdust storm. Gloves and knee pads are your loyal foot soldiers, protecting you from the battlefield’s bumps and bruises.
Flooring Friends:
- Tapping Block & Mallet: These gentle giants persuade stubborn planks into place with a reassuring tap. Think of them as your persuasive negotiators, resolving any woody disputes!
- Wood Chisel & Pry Bar: For those unforeseen detours and stubborn nails, these are your loyal problem solvers. The chisel whispers “adjustments,” while the pry bar gently nudges planks into alignment.
- Spacer Wedges & Expansion Shims: The unsung heroes, maintaining that crucial breathing room between planks. They keep your floor from feeling claustrophobic, ensuring proper expansion and contraction.
- Moisture Meter: Your vigilant scout, detecting any unwelcome moisture lurking in the subfloor. This little gadget could save your floor from future warps and groans!
Remember, New Yorkers, with the right tools and a dash of DIY courage, your concrete jungle can bloom into a haven of gleaming timber. So gather your arsenal, channel your inner builder, and get ready to craft a floor that reflects the soul of your NYC story!
Step-by-Step Hardwood Harmony:
Forget the city’s cacophony – it’s time to compose your own masterpiece, one gleaming plank at a time. This guide equips you, fellow New Yorkers, to transform your concrete canvas into a haven of warm timber, echoing the rhythm of your unique NYC story. So grab your tools, channel your inner Brooklyn builder, and get ready to craft a floor that’s as vibrant as the subway map beneath your feet.

Act I: Prepping the Stage (Before the Sawdust Flies)
-
Clear the Way: Pack up your furniture like a seasoned mover, draping any immovable props with drop cloths. Mask your walls and doorways, like backstage hands prepping for opening night.
-
Smooth the Subfloor Terrain: Uneven floorboards? Not on your watch! Sand or plane away high spots, carving a level stage for your timber symphony. Remember, a smooth subfloor whispers “flawless performance.”
-
Moisture Minding: Humidity’s the diva of wood floors, so grab your moisture meter and keep it below 12%. Any higher, and your planks might warp and groan, creating a dramatic unscripted scene. (Source: https://www.ams.usda.gov/sites/default/files/media/MoistureHB.pdf)
Act II: Laying the Foundation (From Concrete Canvas to Timber Haven)
-
Underlayment Advantage: Crave a quieter performance and extra insulation? Consider rolling out an underlayment like cork or foam – think of it as plush velvet beneath your timber tap shoes. Choose one that meets the requirements for sound attenuation and thermal resistance in your local building code. (Source: https://www.nyc.gov/site/buildings/codes/nyc-code.page)
-
Starting Point: Pick the longest, straightest wall as your opening act. Mark a chalk line parallel to it, leaving a half-inch gap – room for your wood to breathe and express its unique character.
-
First Plank Pioneering: Lay the first plank along the line, its tongue whispering secrets to the wall. Secure it with nails or your trusty nail gun, like a hammer setting the first beat. Don’t forget spacer wedges – the silent dancers in this wooden ballet.
Act III: Plank by Plank Perfection (Timber Tango)
-
Tongue and Groove Tango: Each subsequent plank becomes your dancing partner, their tongues and grooves interlock in a graceful rhythm. Tap gently with your block and mallet for a snug fit – practice makes perfect!
-
Row by Row Ritual: As the rows multiply, your floor transforms into a flowing timber concerto. Work your way across the room, staggering the end joints for added strength. Remember the doorway waltzes – adjust those planks to keep the rhythm unbroken.
-
Jigsaw Juggler: Doorways and obstacles? No problem! Grab your trusty jigsaw, your partner in crime. Mark and cut planks with precision, like a sculptor shaping the city’s rhythm beneath your feet.
Act IV: Sealing the Deal (From Timber Rough Draft to Polished Masterpiece)
-
Sanding Symphony: Once the floor is complete, lightly sand the entire surface with fine-grit sandpaper, removing any imperfections. Dust control is key, so mask up and open the windows for a good curtain call!
-
Varnishing Victory: Choose your varnish, the final act in your masterpiece. Thin coats, careful drying – remember, patience is your spotlight. Open windows for proper ventilation, letting the city air mingle with the scent of fresh timber. Choose a low-VOC varnish to minimize harmful emissions. (Source: https://www.epa.gov/sites/default/files/2014-08/documents/careforyourair.pdf)
Bonus Tip: Feeling overwhelmed? Fear not, New Yorkers! RenovationServices.com, your local stage crew, can handle any installation challenge, from Brooklyn Brownstones to Long Island beach havens. Leave the heavy lifting to them and focus on composing your own hardwood floor masterpiece.
Remember: Patience, precision, and a dash of DIY spirit are your key allies. By following these steps and applying your newfound knowledge, your concrete jungle will soon bloom into a haven of gleaming timber, reflecting the warmth and character of your unique NYC story. So go forth, New Yorkers, and craft your own hardwood floor symphony!