Conquering the Condo Cartridge: A Step-by-Step Guide (NYC Dilemmas & Beyond)
A leaky shower in your NYC condo can turn from a minor annoyance to a major financial headache, thanks to the lack of individual water shutoff valves in many older buildings. But before you resign yourself to a $400 plumbing bill, take a deep breath and equip yourself with the knowledge and tools to tackle this cartridge caper yourself! This step-by-step guide will help you navigate the DIY vs. plumber dilemma, assess your risks, and potentially save a bundle.
Before You Begin:
Gather your weapons:
- Replacement Delta cartridge for your specific model (refer to the faucet handle or Delta’s website)
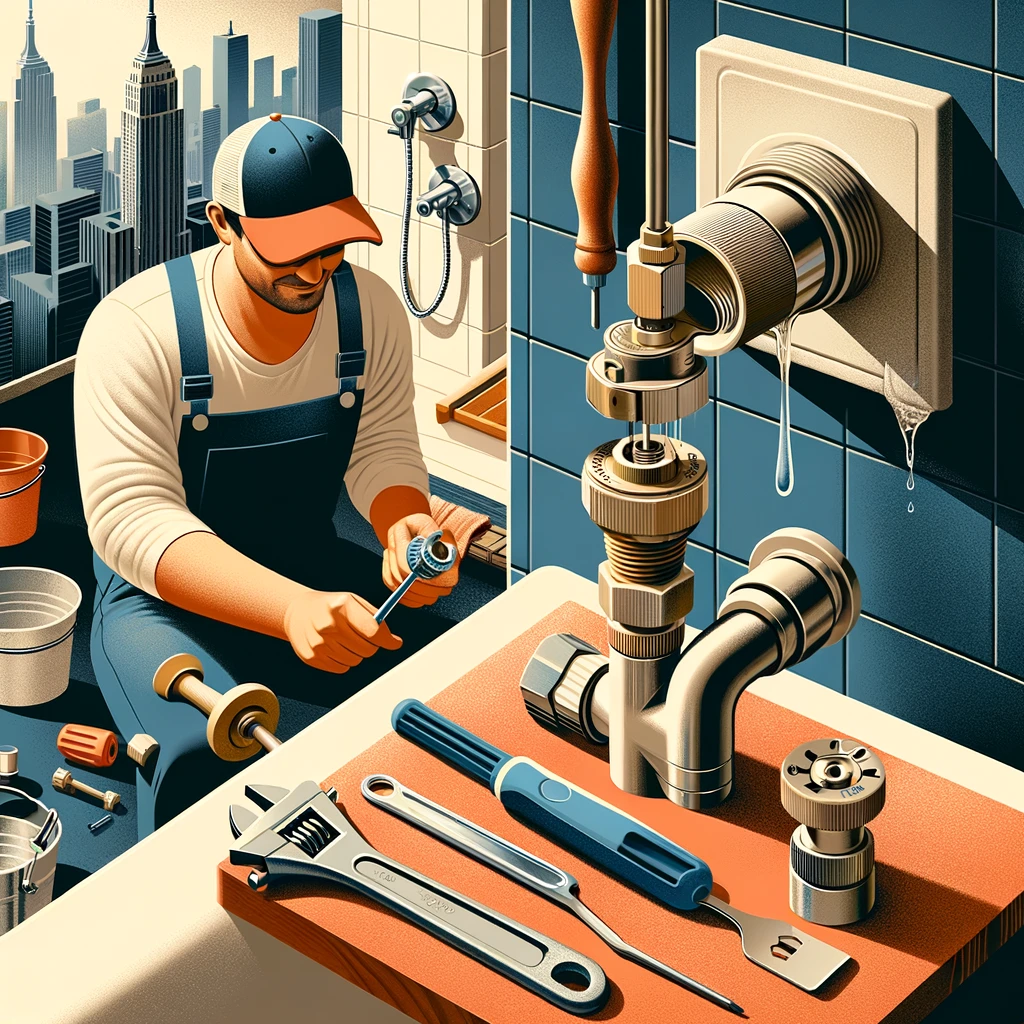
- Adjustable wrench
- Flathead screwdriver
- Bucket
- Towel
- Rags
- Patience and a sense of adventure (optional, but helpful)
Assess the battlefield:
- Identify the integral shutoff valves: Locate the small screws on each side of the shower valve stem. These are your potential allies or treacherous foes.
- Test the enemy lines: Carefully turn the integral shutoff valves with the flathead screwdriver. If they leak or feel stiff, call in the plumber cavalry. No shame in retreat!
- Prepare for residual forces: Even with shut-off valves, some water pressure might remain. Place the bucket under the valve where the cartridge will be removed, just in case.
The Cartridge Campaign:
Step 1: Engage the enemy (carefully): Using the adjustable wrench, loosen the packing nut around the valve stem (the large nut holding everything together). Don’t overexert, rust can be stubborn.
Step 2: Disarm the cartridge: Once the packing nut is loose, remove the handle and any decorative trim pieces. Now, unscrew the retaining clip holding the cartridge in place. This might require some wiggling and gentle persuasion.
Step 3: Extract the culprit: Slide the old cartridge out of the valve body. Inspect it for wear and tear, take a moment of satisfaction for your victory.
Step 4: Introduce the new recruit: Insert the new cartridge into the valve body, ensuring it aligns properly with the stem. Secure it with the retaining clip and tighten the packing nut, but don’t go Hulk mode.
Step 5: Test your handiwork: Reattach the handle and trim pieces. Slowly turn on the water supply, starting with the cold side first. Watch for leaks at the connections and adjust the packing nut if necessary.
Victory Dance (Optional): If everything flows smoothly, pat yourself on the back! You’ve conquered the cartridge and saved yourself a hefty chunk of change. Now, crank up the tunes and enjoy your well-deserved hot shower.
Remember, Safety First!:
- If you encounter any leaks, water pressure issues, or feel overwhelmed, don’t hesitate to call a plumber. It’s better to spend a little extra than risk major water damage.
- Always turn off the water supply before starting any repairs.
- Use proper tools and follow manufacturer instructions for your specific Delta cartridge model.
Beyond the Big Apple:
This guide isn’t just for New Yorkers! Condo dwellers across the country can benefit from these principles. Remember, assessing your skills, plumbing condition, and potential risks is crucial before embarking on any DIY adventure.
Additional Resources:
- Environmental Protection Agency (EPA): Offers resources on water conservation and preventing leaks.
- Renovation Services: Contact Us.
With a little knowledge, preparation, and these step-by-step instructions, you can conquer the condo cartridge and reclaim the sanctuary of your shower. Remember, knowledge is power, and a DIY victory feels a whole lot sweeter than a hefty plumbing bill. So, arm yourself with information, grab your tools, and go forth, brave condo dweller! The leaky shower awaits your heroic intervention.