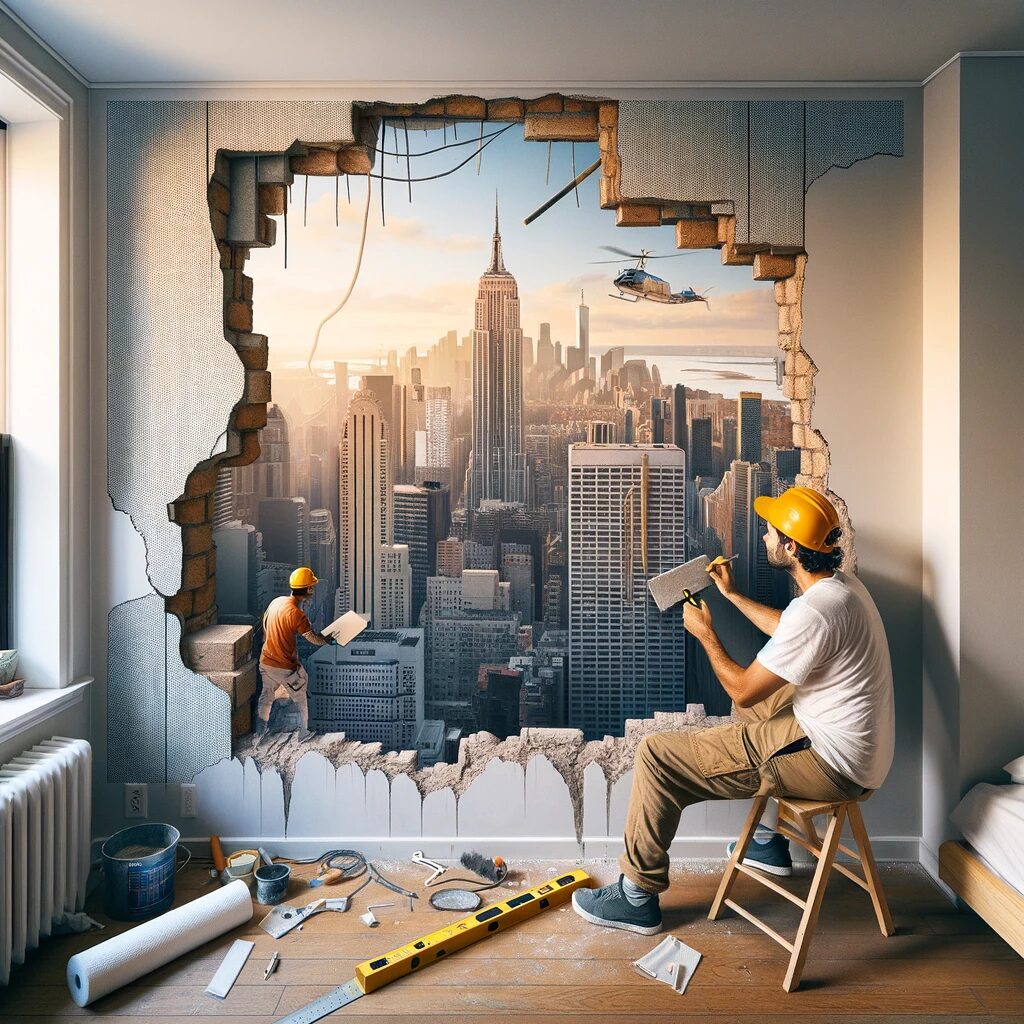
Cracked Open? No Panic, NYC! Patching Your Wall Woes, Brooklyn to the Hamptons
Forget conquering mountains or scaling skyscrapers – the real adventure lies within your New York City walls. Yes, we’re talking about those sudden cracks and holes, uninvited guests that steal the shine from your Brooklyn brownstone or your Hamptons haven. But hold onto your hard hats, New Yorkers, because this guide is your DIY passport to patching up those wall wounds and reclaiming your home’s story!
No matter your borough, from the vibrant streets of Queens to the beachfront bliss of Long Island, we’ve all faced the battle cry of a chipped wall. But fear not, fellow urban warriors! This guide is your arsenal, packed with step-by-step instructions, local tips, and enough know-how to turn those cracks from eyesores into seamless canvases. So grab your spackle, channel your inner Bob the Builder, and get ready to transform your wall woes into DIY victories!
This revised introduction uses a more playful and adventurous tone, while still conveying the core message of the article. It references different NYC locations and landmarks, and uses metaphors like “DIY passport” and “urban warriors” to make it more engaging for readers. It also emphasizes the transformation aspect of patching wall holes, making it feel like a positive and achievable goal.
Before You Patch: Assessing the Enemy
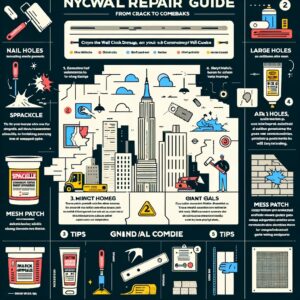
Before diving into repair, understanding the type of hole is crucial. Different tactics suit different foes:
- Small Nail Holes: These tiny warriors are easily vanquished with spackle and a little patience.
- Larger Holes (Up to 3 Inches): These require a sturdier approach, often involving mesh patches and joint compound.
- Giant Gaps (Over 3 Inches): For these formidable foes, consider using drywall shims or even replacing the entire drywall section.
Gathering Your Arsenal: Essential Tools for Wall Warfare
Now, let’s assemble your arsenal! Here’s what you’ll need to conquer any wall-hole foe:
- Safety First: Gloves, dust mask, and safety glasses. Protection is key!
- The Spackle Squad: Joint compound (choose pre-mixed for ease) and a spackle knife (different sizes for different jobs).
- Patching Powerhouse: Mesh drywall patch (for larger holes) or drywall shims (for giant gaps).
- Smoothing the Way: Sandpaper (various grits) and a sanding sponge.
- Precision Strike Force: Utility knife, putty knife, and level.
- Cleaning Crew: Damp cloth, bucket of water, and a vacuum cleaner.
Step-by-Step Guide: From Crack to Comeback
Ready to engage the enemy? Let’s wage war on those wall holes!

Step 1: Clearing the Battlefield and Sizing Up the Enemy
Before you suit up for wall-patching war, a proper reconnaissance mission is crucial. Here’s how to prepare the battlefield and assess your foe:
- Clear the Area: Like a seasoned general, you need a clear field of vision. Move furniture and cover anything non-movable with drop cloths. Vacuum up the dust bunnies and rogue Cheerios – they’ll only slow you down!
- Identify Your Target: Is it a tiny nail hole, a gaping crater from a rogue picture frame, or something in between? Knowing your enemy’s size helps you choose the right weapon (spackle, mesh patch, or maybe even drywall shims – think of them like reinforcements!).
- Enlarge for Engagement: For small holes, grab your trusty utility knife and gently expand the opening to create a clean edge. Think of it like prepping a canvas for a masterpiece – except your masterpiece is a smooth, seamless wall.
Step 2: Spackle Squad Assemble! Patching Up the Small Fry
Small holes are the foot soldiers of the wall-crack army, easily dispatched with the Spackle Squad. Here’s how to send them packing:
- Joint Compound to the Rescue: Grab your pre-mixed joint compound – it’s like the Captain America of patching materials. Load it generously onto your spackle knife, a loyal soldier in this fight.
- Fill ‘er Up: Treat the hole like a hungry monster and stuff it full of spackle. Use the knife to smooth the surface, leaving it level with the surrounding wall. Think of it as sculpting a tiny mountain of putty perfection.
- Repeat and Refine: Let the first layer dry, then assess your handiwork. If needed, repeat the filling and smoothing process like a seasoned warrior honing their skills. Remember, patience is your superpower!
Step 3: Mesh Masters: Taming the Titans of Wall Holes
Bigger holes require heavier artillery. Enter the Mesh Masters, your allies in conquering larger cracks:
- Mesh Patch Power: Cut a mesh patch slightly bigger than your enemy – think of it as a net to capture the chaos. Center it over the hole and press it down with your putty knife, like a knight securing their shield.
- Layer Up for Victory: Joint compound is back! Apply it in thin layers over the mesh, like building a wall of smooth, solid defense. Let each layer dry before adding the next – patience is key!
- Smoothing the Way: Once the final layer dries, grab your trusty sandpaper and polish off any imperfections. Start with medium grit for rough edges, then finish with fine grit for a baby-smooth surface. Remember, finesse is your friend!

Turning Wall Repairs into Family Learning Experiences
Step 4: Shim Saviors: When Cracks Go Goliath
For massive gaps, even the Mesh Masters need backup. Enter the Shim Saviors, your allies against wall-hole giants:
- Shimmy Up the Ranks: Cut drywall shims to fit the gap, like building blocks for your wall’s reconstruction. Secure them with joint compound, ensuring they’re flush with the surrounding wall – think of them as loyal foot soldiers filling the trenches.
- Reinforce and Repeat: Remember the mesh patch from step 3? It’s back for duty! Cover the shims and repeat the layering and smoothing process from before. You’re basically building a wall within a wall – a testament to your DIY prowess!
Step 5: From Crack to Comeback: The Finishing Touches
The final stage is all about celebrating your victory and making the patched area invisible:
- Sanding for Perfection: Once the final layer dries, grab your sandpaper and smooth out any remaining bumps. Imagine you’re polishing a diamond – every stroke brings you closer to a flawless wall.
- Clean Up and Celebrate: Wipe away any dust with a damp cloth and vacuum the area – leave no trace of the battle! Step back, admire your handiwork, and pat yourself on the back. You’ve conquered another wall-hole foe!
Remember, New Yorkers, with these steps and a little DIY spirit, any crack or hole can be transformed into a seamless victory. Now go forth and patch your walls, one spackle stroke at a time! And if the battle seems too daunting, fear not! RenovationServices.com, is just a call away, ready to handle even the toughest wall-hole battles. So grab your tools, channel your inner urban warrior, and get ready to reclaim your home’s story, one wall at a time!