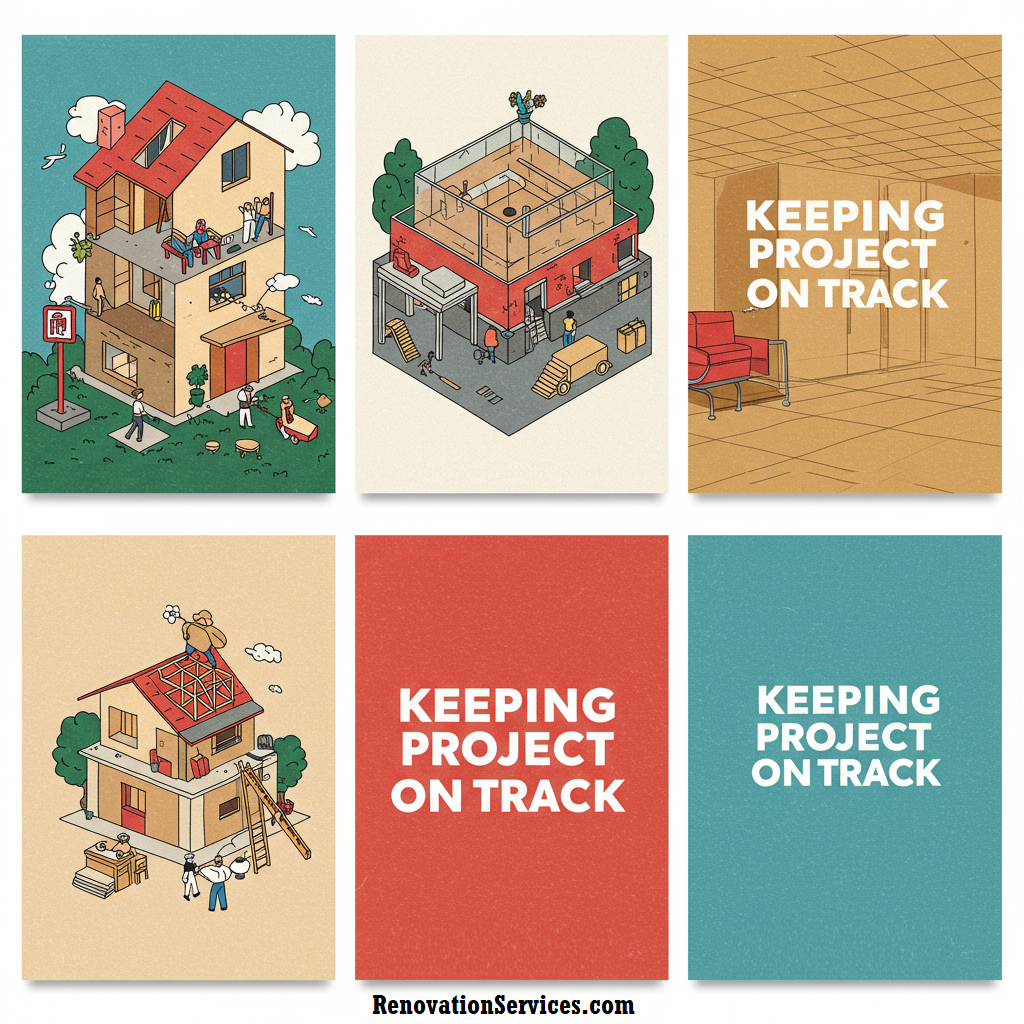
Drawing Up a Detailed Renovation Timetable: Keeping Your Project On Track
A comprehensive guide to planning every phase of your home renovation, managing delays, and ensuring a smooth, on‑schedule project.
1. Introduction
Every successful home renovation project begins with a solid plan, and at the heart of that plan lies a detailed timetable. A well‑crafted renovation timetable acts as your roadmap—from the initial planning and budgeting stages to the final inspection and handover. This guide explains how to create a comprehensive schedule that keeps your project on track, helps manage delays, and streamlines communication with your contractors and suppliers.
Whether you’re remodeling your kitchen in Manhattan, converting a loft in Brooklyn, or adding an extension in Queens, a clear timetable ensures that every phase is executed smoothly. In this article, we share actionable tips, practical advice, and real-life examples to help you build a timetable that meets your unique needs. Throughout the article, you’ll find in‑text links that guide you to additional resources, such as our posts on hardwood flooring choices and building permits in New York, which further enrich your renovation planning.
This guide is designed for homeowners and DIY enthusiasts alike. By the end of this article, you’ll have a robust framework to create a timetable that not only sets realistic deadlines but also adapts to changes and unforeseen challenges.
2. The Benefits of a Detailed Renovation Timetable
Implementing a detailed renovation timetable brings numerous benefits that directly impact the success of your project. First and foremost, it ensures that every task, from obtaining permits to scheduling the delivery of materials, is clearly outlined. This level of detail minimizes the risk of overlooking important steps that could delay the project.
One of the major advantages is improved budget management. When you break down the project into specific phases with associated deadlines and milestones, you can better monitor spending. A detailed timetable helps you anticipate when payments will be due, and it allows you to tie payments to tangible progress, reducing the risk of overspending. For example, if your plan includes installing new hardwood flooring, you can schedule this work after all the structural changes are complete, ensuring that your materials are not damaged by earlier work.
Another key benefit is enhanced communication and coordination. A clear schedule provides a common reference point for all parties involved, from architects and contractors to suppliers and inspectors. This shared timeline reduces misunderstandings and enables proactive management of delays. When issues arise, you can quickly adjust the timetable and communicate the changes to everyone, keeping the project on track.
Moreover, a detailed timetable helps maintain quality control. By scheduling regular inspections and progress reviews, you ensure that the work meets your standards at every stage. This proactive approach not only prevents small issues from escalating into major problems but also builds confidence in the overall project management process.
Overall, a well‑defined renovation timetable serves as a vital tool that enhances efficiency, reduces stress, and ultimately ensures that your renovation project is completed on time and within budget.
3. Key Components of a Renovation Timetable
A comprehensive renovation timetable should cover every phase of your project. The key components include:
- Project Phases: Break down the renovation into distinct phases such as planning, design, permitting, construction, and finishing.
- Milestones and Deadlines: Establish critical milestones, including the start and finish dates for each phase, delivery dates for materials, and scheduled inspections.
- Task Breakdown: List out each task required to complete a phase. For instance, under the construction phase, include tasks such as demolition, structural modifications, installation of fixtures, and painting.
- Dependencies: Identify tasks that rely on the completion of others. This helps in adjusting the schedule if one task is delayed.
- Contingency Time: Always add extra time to account for unexpected delays—whether due to weather, supply issues, or other unforeseen circumstances.
- Review and Approval Points: Schedule regular review meetings and quality inspections to ensure that each phase meets the required standards before moving on to the next.
For example, if you’re planning a kitchen renovation, your timetable should indicate the design approval date, ordering of custom cabinetry, installation of appliances, and final inspection. Each of these tasks might be interdependent, and understanding these relationships is crucial for a realistic schedule. If your project involves a new extension, tasks like foundation work, framing, and roofing must be clearly sequenced.
Below is a sample table that outlines key components and their typical durations for a mid-sized home renovation project:
| Phase | Key Tasks | Estimated Duration |
|---|---|---|
| Planning & Design | Define objectives, create design concepts, obtain quotes | 2-4 weeks |
| Permitting | Submit plans, obtain building permits | 4-6 weeks |
| Construction | Demolition, structural work, installations | 8-12 weeks |
| Finishing | Painting, flooring, final inspections | 4-6 weeks |
This breakdown helps in understanding the overall timeline and the critical dependencies between tasks. It also serves as a valuable reference when discussing details with your contractor.
4. Tools and Methods for Creating Your Timetable
Today, homeowners have access to a variety of tools and methods to develop a detailed renovation timetable. From traditional pen-and-paper checklists to advanced digital project management software, choosing the right tool can streamline the entire process.
Many homeowners prefer using spreadsheet programs such as Microsoft Excel or Google Sheets because they allow you to create custom tables, set deadlines, and track progress. For example, you can create a column for tasks, deadlines, responsible parties, and status updates. Digital tools often come with built-in reminders and collaboration features, which can be especially useful when working with contractors.
There are also specialized home renovation apps and project management tools like Trello, Asana, or Monday.com that allow you to create boards, cards, and timelines. These tools let you visualize your project in a Gantt chart format, making it easier to see which tasks are overlapping and which are dependent on the completion of previous steps.
Below is a comparison table that highlights some popular tools and their key features:
| Tool | Features | Best For |
|---|---|---|
| Google Sheets | Customizable tables, collaboration, cloud-based | DIY enthusiasts and basic project tracking |
| Microsoft Excel | Advanced formulas, pivot tables, offline access | Detailed budgeting and timeline management |
| Trello | Visual boards, cards, deadlines, team collaboration | Visual task management and small projects |
| Asana | Gantt charts, task dependencies, progress tracking | Complex projects with multiple stakeholders |
By selecting the right tool, you can keep your renovation timetable flexible and up-to-date. Many of these tools also allow you to export your schedule into printable formats, ensuring that you always have a hard copy for reference.
5. Sample Renovation Timetable
Below is a sample renovation timetable that illustrates how you might structure your project. This example is for a mid-sized home renovation project that includes planning, permitting, construction, and finishing phases.
This sample timetable can be adjusted to suit your specific needs. Each phase is broken down into tasks with estimated durations. Use this table as a template for creating your own detailed schedule:
| Phase | Task | Start Date | End Date | Status |
|---|---|---|---|---|
| Planning & Design | Define objectives, create initial sketches | March 1, 2025 | March 14, 2025 | Completed |
| Planning & Design | Consult with designers, finalize blueprints | March 15, 2025 | March 28, 2025 | In Progress |
| Permitting | Submit plans and obtain building permits | March 29, 2025 | April 18, 2025 | Pending |
| Construction | Demolition and structural work | April 20, 2025 | May 30, 2025 | Not Started |
| Finishing | Interior finishing and inspections | June 1, 2025 | June 20, 2025 | Not Started |
This sample timetable serves as a practical reference. You can adjust dates and tasks based on your project’s specific requirements. By keeping the timetable updated, you’ll have a clear picture of your progress and can quickly identify any delays.
6. Managing Delays and Adjusting Your Timetable
Even the best-laid plans can encounter delays. Whether due to weather, supply chain issues, or unexpected complications on site, delays are common in home renovation projects. The key is to build flexibility into your timetable from the very beginning. Include contingency time for each phase so that if one task is delayed, it does not derail the entire project.
For example, if the delivery of materials is postponed, having a built-in buffer allows you to reschedule tasks without major disruption. If your project involves installing hardwood flooring, you may add an extra week between demolition and installation. This not only minimizes stress but also prevents costly rush orders or emergency fixes.
Regularly review your timetable with your contractor and update it as needed. Use project management tools to flag delays and adjust subsequent deadlines. Maintaining clear communication during these adjustments is essential. Document every change so that everyone remains informed and accountable.
The following table provides a sample adjustment log that you can integrate into your timetable management process. It helps track delays, new deadlines, and the reasons behind each change:
| Date of Change | Task Affected | Original End Date | New End Date | Reason for Change |
|---|---|---|---|---|
| April 10, 2025 | Submit Building Permits | April 18, 2025 | April 25, 2025 | Delay in processing due to high application volume |
| May 5, 2025 | Structural Work | May 30, 2025 | June 5, 2025 | Late delivery of critical materials |
By tracking delays and adjusting your schedule accordingly, you maintain better control of the project timeline and can more effectively manage your renovation budget and expectations.
7. Integrating Communication and Contractor Coordination
Effective communication is a cornerstone of any successful renovation project. Your timetable should not only list tasks and deadlines—it should also incorporate regular check-ins and updates with your contractor and team. Establish clear lines of communication to discuss progress, address issues, and adjust the schedule as needed.
Consider scheduling weekly or bi-weekly progress meetings. These meetings provide an opportunity to review completed tasks, discuss upcoming phases, and resolve any emerging issues. For instance, if you’re planning a bathroom remodel, a weekly meeting can help ensure that plumbing installations, tiling, and fixture placements are coordinated seamlessly.
Incorporate internal links naturally by referring to related topics; for example, if you need tips on managing contractor relationships, you might refer readers to our article on finding a reliable contractor.
To further assist in communication, consider adding a section to your timetable for contractor contact details, scheduled progress updates, and inspection dates. Using a shared digital platform like Trello or Asana can help keep everyone on the same page. This collaboration not only speeds up decision-making but also builds trust, ensuring that your renovation project stays on track and within budget.
8. Best Practices and Final Checklist
Wrapping up your renovation planning, it’s important to compile a final checklist that summarizes all critical tasks and deadlines. A final checklist serves as a quick reference to ensure that no step is overlooked and that your project is fully prepared to proceed.
This checklist should include:
- Final review of the renovation plan and design approvals
- Documentation of all written agreements and permits
- Confirmation of contractor credentials and insurance
- Detailed schedule of tasks with milestones and contingency buffers
- Regular progress meetings and communication protocols
- Final inspection and quality control procedures
Below is a sample final checklist table that you can use as a template:
| Task | Status | Comments |
|---|---|---|
| Review and finalize renovation plan | Completed | All design elements approved |
| Obtain necessary permits | In Progress | Waiting for permit approval |
| Sign written agreements with contractor | Completed | All terms documented and signed |
| Set up detailed timetable | Completed | Schedule reviewed with contractor |
| Establish regular progress meetings | Planned | Weekly updates scheduled |
| Conduct final inspections | Pending | Inspection checklist ready |
This final checklist is a valuable tool that ensures every aspect of your renovation has been considered and executed. Regularly updating this checklist throughout the project will keep you organized and provide peace of mind that nothing is overlooked.
Additional Resources
Suggested Posts