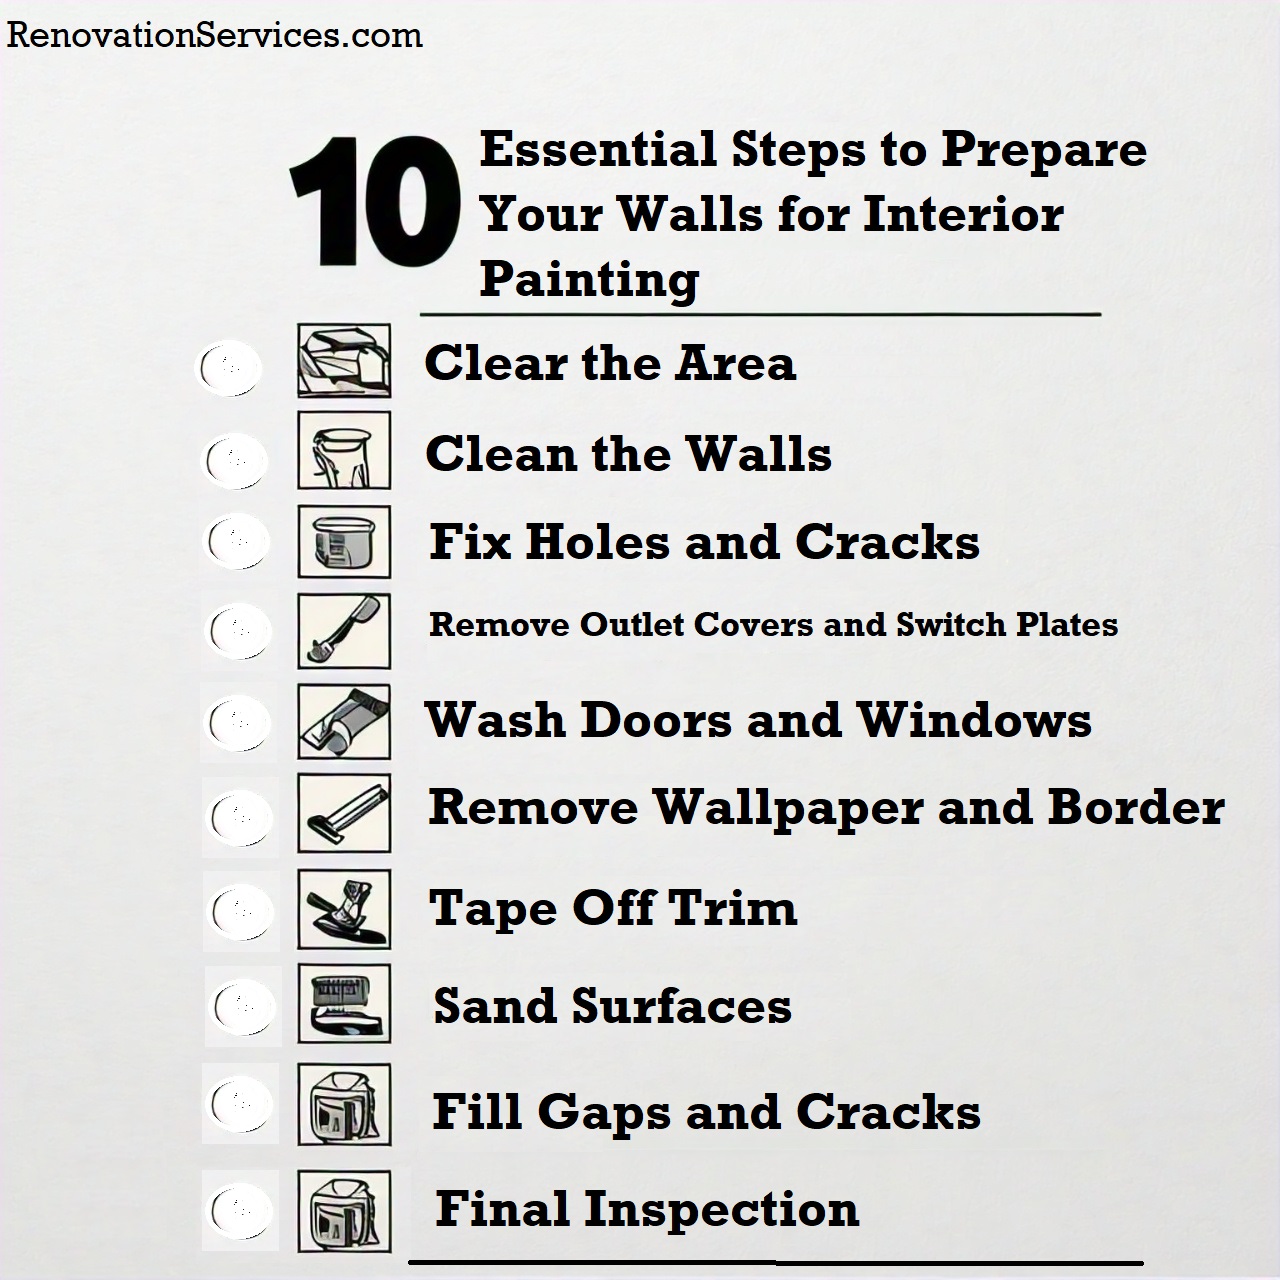
10 Essential Steps to Prepare Your Walls for Interior Painting
Are you ready to give your home a fresh new look with a coat of paint? Before you start painting, it’s essential to prepare your walls to ensure a smooth, even finish. At (https://renovationservices.com), we understand the importance of proper preparation for a successful painting project. In this article, we’ll walk you through the 10 essential steps to prepare your walls for interior painting.
Step 1: Clear the Area
The first step in preparing your walls for painting is to clear the area. This means removing any furniture, decorations, and fixtures from the room. Take down any curtains, blinds, or shades to prevent paint splatters from getting on them. If you can’t remove the furniture, cover it with drop cloths or plastic sheeting to protect it from paint spills. Remove any outlet covers and switch plates to prevent paint from getting behind them.
Clearing the area will give you a clean slate to work with and prevent any accidents or damage to your belongings. It’s also a good idea to cover the floors with drop cloths or plastic sheeting to protect them from paint spills.
Step 2: Clean the Walls
Dirt, grime, and grease can affect paint adhesion, so it’s essential to clean the walls before painting. Use a damp cloth to wipe down the walls, removing any dirt, grime, or grease. This will ensure a strong bond between the old paint and the new coat. For tougher stains, you can use a mixture of soap and water or a specialized cleaning solution. Be sure to rinse the walls thoroughly with clean water to remove any soap residue.
Step 3: Fix Holes and Cracks
Holes and cracks in the walls can be a significant obstacle to a smooth paint job. Use spackling compound to fill any holes or cracks, and sand smooth with a putty knife. This will create a solid surface for painting.
For larger holes or cracks, you may need to use a patching compound or consult a professional for assistance. It’s essential to fix any holes or cracks before painting to prevent them from becoming more noticeable after the paint is applied.
Step 4: Remove Outlet Covers and Switch Plates
As mentioned earlier, remove any outlet covers and switch plates to prevent paint from getting behind them. This will also give you access to the outlets and switches, making it easier to paint around them.
Step 5: Wash Doors and Windows
Clean doors and windows to remove any dirt or grime that can interfere with paint adhesion. Use soap and water to wipe down the doors and windows, and dry them thoroughly with a clean towel.
Step 6: Remove Wallpaper and Border
If you have wallpaper or border in the room, it’s essential to remove it before painting. Use a steamer or a specialized wallpaper remover to take down the wallpaper, and scrape off any remaining adhesive with a putty knife.
Removing wallpaper and border can be a time-consuming process, but it’s essential for a smooth paint job. If you’re not comfortable removing the wallpaper yourself, consider hiring a professional to do it for you.
Step 7: Tape Off Trim
Use painter’s tape to protect trim, baseboards, and moldings from paint. Apply the tape carefully to ensure it’s straight and smooth, and press it firmly onto the surface to create a seal.
Taping off trim is an essential step in preparing your walls for painting. It will prevent paint from getting on the trim and create a crisp, clean line between the paint and the trim.
Step 8: Sand Surfaces
Lightly sand the walls to smooth out the surface and create a better bond between the old paint and the new coat. Use a sanding block or sandpaper to sand the walls, working in small sections to maintain even coverage.
Sanding will also help to remove any imperfections or bumps on the surface, creating a smooth finish for painting.
Step 9: Fill Gaps and Cracks
Seal any gaps or cracks around windows, doors, and trim with caulk. This will prevent paint from seeping into the gaps and create a smooth, even finish.
Use a caulk gun to apply the caulk, and smooth it out with a damp finger or a caulk tool. Allow the caulk to dry completely before painting.
Step 10: Final Inspection
Do a final walk-through to ensure all surfaces are clean, smooth, and ready for painting. Check for any remaining imperfections or areas that need attention, and address them before starting to paint.
A final inspection will ensure that your walls are ready for painting and prevent any costly mistakes or delays.
Conclusion
Preparing your walls for interior painting is an essential step in achieving a professional-looking finish. By following these 10 essential steps, you’ll be able to create a smooth, even surface for painting and ensure a successful painting project.
At (https://renovationservices.com), we understand the importance of proper preparation for a successful painting project. Our team of experienced professionals can help you with every step of the process, from preparation to completion. Contact us today to learn more about our interior painting services and schedule a consultation.
Additional Tips and Resources
-
Always use high-quality painting supplies, including paint, brushes, and rollers, to ensure a professional-looking finish.
-
Consider hiring a professional to help with the preparation and painting process, especially if you’re not comfortable with heights or don’t have experience with painting.
-
Use a paint primer to create a strong bond between the old paint and the new coat, and to ensure a uniform color.
-
Don’t forget to clean up as you go, including washing tools and disposing of any leftover paint and materials.
By following these 10 essential steps and additional tips, you’ll be able to achieve a beautiful, professional-looking finish and enjoy your newly painted walls for years to come.